
Starlink Activation in Kenya: How to Get Connected Successfully
The demand for reliable internet continues to grow across Kenya, particularly in rural and underserved regions where traditional broadband infrastructure remains limited. Businesses, schools, remote workers, and households increasingly rely on stable connectivity to support communication, education, and daily operations.
Starlink enables high-speed satellite connectivity by linking user equipment directly to a constellation of low-Earth-orbit satellites. Developed by SpaceX, the system delivers reliable internet access even in areas where fiber or mobile networks struggle to provide consistent coverage.
This guide explains the key requirements for activating a Starlink system in Kenya, outlines the activation process, and provides troubleshooting tips to help ensure a smooth setup. It also shows how to verify that your connection is working correctly so you can begin enjoying reliable satellite internet service.
Activating a Starlink system is the step that connects your dish, router, and subscription plan to the Starlink satellite network, allowing the hardware to begin delivering internet service once the setup is complete.
1. What Starlink Activation Means

Starlink activation is the process that connects your Starlink hardware to the Starlink satellite network and links it to your personal or business account. This step is required before the system can begin delivering internet connectivity.
Once activation is complete, the dish can communicate with orbiting satellites and provide internet service through your router.
1.1 Definition of Activation
Activation refers to the initial setup process that registers your Starlink hardware with your account and the satellite network.
This process includes:
-
Linking the satellite dish and router to your Starlink account
-
Verifying the hardware identity and location
-
Enabling access to the Starlink satellite internet network
Without this step, the hardware remains inactive and unable to deliver internet service.
1.2 Why Activation Is Necessary
Activation is essential because the system must authenticate your hardware and confirm an active subscription before providing connectivity.
If the dish is not activated:
-
It cannot communicate with Starlink satellites
-
The router will not provide a functional internet connection
-
Network access will remain restricted until the account is verified
In short, activation ensures that the hardware is authorized to operate on the Starlink network.
1.3 What Happens During Activation
Several processes occur when the system is activated:
Account Verification
-
Your Starlink account is confirmed and linked to the hardware.
Satellite Connection
-
The dish establishes communication with nearby low-Earth-orbit satellites to begin transmitting data.
Subscription Confirmation
-
The system verifies that an active service plan is attached to the account.
Once these steps are completed, the network becomes fully operational.
Starlink activation is the process of registering your satellite dish and linking it to your Starlink account and service plan. During activation, the system verifies the account, connects the dish to satellites, and confirms the subscription. This ensures the hardware is properly authorized and ready to provide high-speed satellite internet connectivity.
2. Requirements Before Activating Starlink in Kenya

Before activating your Starlink internet service, several key requirements must be in place. Preparing these items ensures a smooth activation process and allows the system to connect quickly to the satellite network.
2.1 A Complete Starlink Kit
To begin activation, you must have a fully assembled Starlink hardware kit.
A typical kit includes:
-
Satellite dish (Dishy) that connects to the satellite network
-
Wi-Fi router that distributes the internet to your devices
-
Power cables and adapters for the electricity supply
-
Mounting stand or base for stable outdoor placement
Ensuring all components are present and properly connected is essential for the system to communicate with satellites during activation.
2.2 A Starlink Account
A Starlink account is required to register and manage your hardware.
Your account allows you to:
-
Register the Starlink kit in your name or business
-
Manage subscription plans and billing
-
Monitor service status and network performance
Without an account, the hardware cannot be authorized to access the Starlink network.
2.3 The Starlink Mobile App
The Starlink mobile app is an important tool for configuring and activating the system.
The app helps users:
-
Set up and activate the dish
-
Check signal strength and satellite visibility
-
Monitor network performance and connection status
It also provides guided instructions that make the installation and activation process easier for new users.
2.4 Active Subscription and Payment Setup
Before the internet service becomes available, your selected Starlink service plan must be active.
This typically involves:
-
Choosing a service plan that matches your usage needs
-
Setting up payment details for the subscription
-
Confirming that the account status is active
Once the subscription is verified, the dish can fully connect to the satellite network and start delivering internet service.
Activating Starlink in Kenya requires a complete Starlink kit, a registered Starlink account, the Starlink mobile app, and an active subscription plan with payment set up. Preparing these elements in advance helps ensure a fast, trouble-free activation process, allowing users to access reliable satellite internet quickly.
3. Step-by-Step Starlink Activation Process

Activating your Starlink system is a simple, guided process designed to get you online quickly. Once the hardware is installed and powered on, the activation can usually be completed within a few minutes using the Starlink mobile app.
3.1 Power On the Starlink Kit
The first step is to connect the hardware to a stable power source.
-
Plug the satellite dish and router into the power adapter
-
Ensure all cables are securely connected
-
Wait for the system to boot up and begin initializing
When powered on, the dish automatically begins preparing to search for available satellites.
3.2 Connect to the Starlink Wi-Fi Network
Next, connect your device to the router’s Wi-Fi network.
-
Open the Wi-Fi settings on your smartphone, tablet, or laptop
-
Locate the Starlink Wi-Fi network name
-
Connect to the network to access the setup interface
This connection allows your device to communicate with the Starlink system during activation.
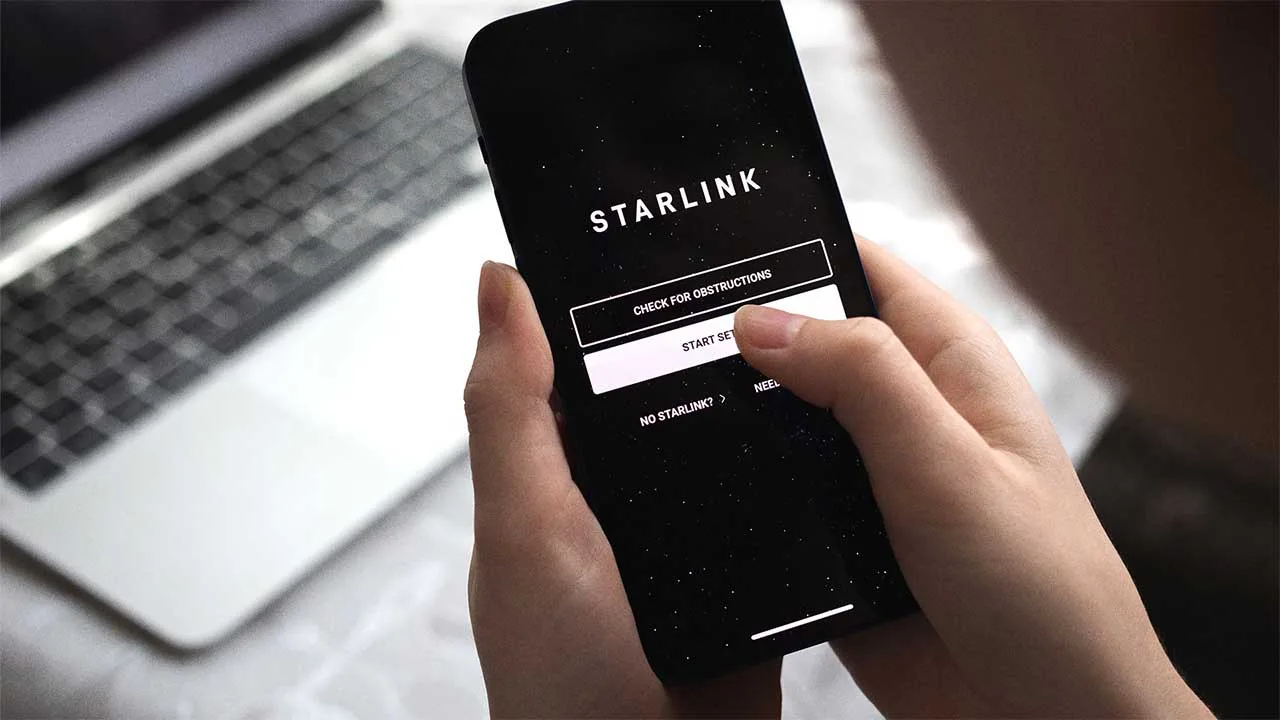
3.3 Log Into the Starlink App
After connecting to the Wi-Fi network, open the Starlink mobile app and log in.
-
Enter the email and password associated with your Starlink account
-
The app will detect the connected hardware automatically
-
Follow the guided prompts to begin the activation process
The app acts as the control center for setup, configuration, and monitoring.
3.4 Register the Kit and Confirm Location
During activation, the system must verify the hardware and confirm the service location.
-
Enter or confirm the kit’s serial number if prompted
-
Verify the service address or location where the dish is installed
-
Confirm the subscription plan attached to the account
This step ensures the hardware is properly registered and authorized to operate on the network.
3.5 Complete Activation
Once registration is complete, the dish begins connecting to the satellite network.
-
The dish will search for nearby satellites automatically
-
Initial signal acquisition and calibration take place
-
The system establishes its first internet connection
When finished, the Starlink network becomes fully active and ready for use.
The Starlink activation process involves powering on the kit, connecting to the router’s Wi-Fi network, logging into the Starlink app, registering the hardware, and allowing the dish to connect to satellites. The entire process is designed to be fast and user-friendly, allowing most users to activate their system and begin using satellite internet within minutes after setup.
4. Testing the Connection After Starlink Activation

After activating your Starlink system, it is important to test the connection and confirm that everything is working properly. Performing a few quick checks helps ensure the network is delivering stable speeds, reliable connectivity, and optimal performance.
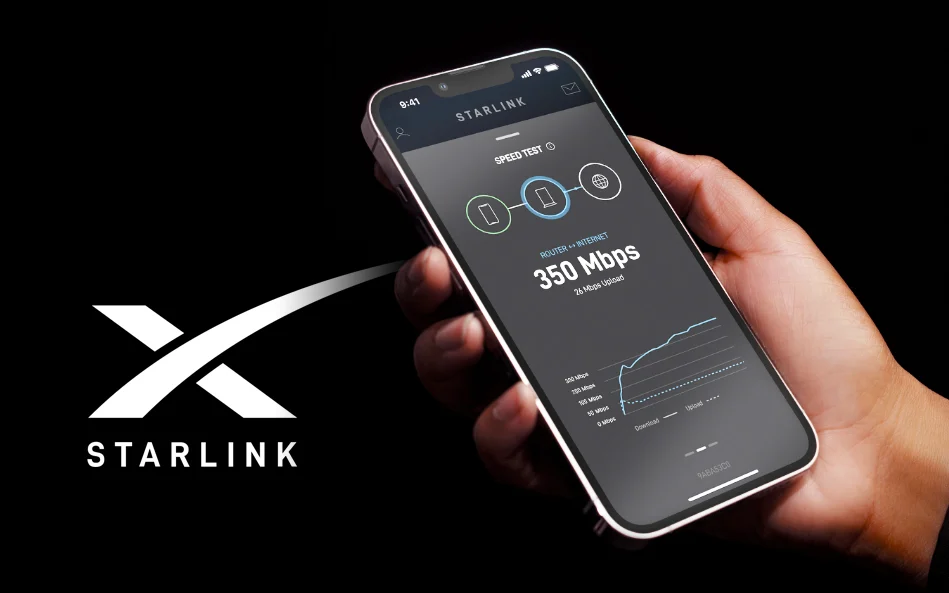
4.1 Run Speed Tests
The first step is to measure your internet performance using the Starlink mobile app.
Speed tests allow you to check:
-
Download speeds for streaming, browsing, and file downloads
-
Upload speeds for video calls, cloud backups, and file sharing
-
Latency (ping) for real-time applications like gaming or online meetings
Running a speed test helps confirm that the connection is operating within expected performance ranges.
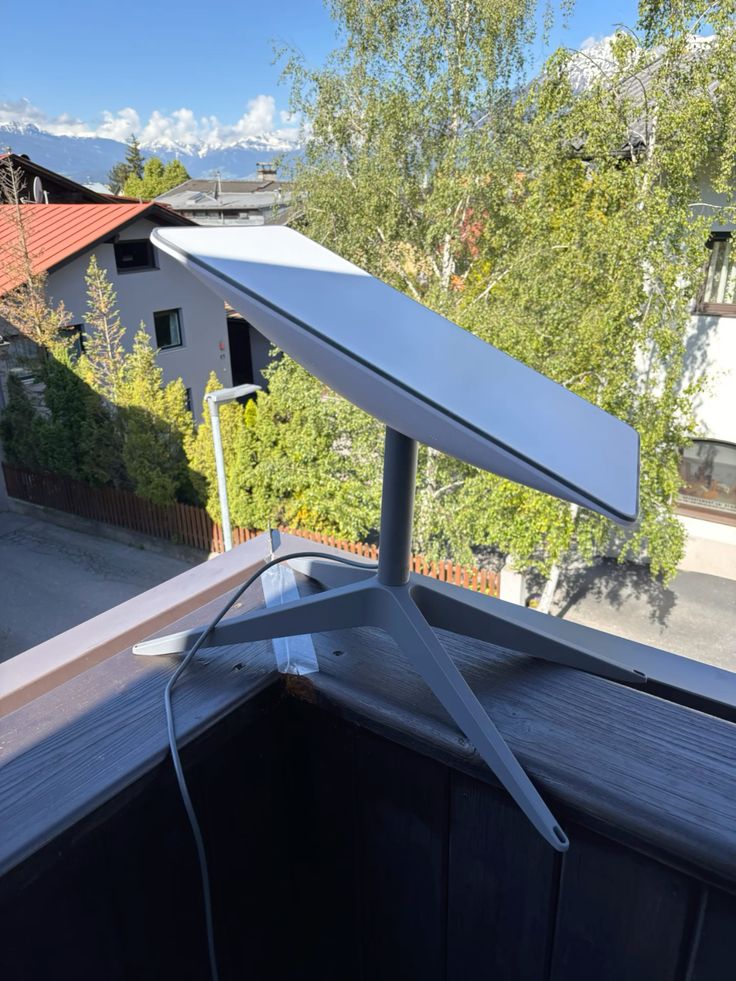
4.2 Confirm Satellite Connection
Next, verify that the satellite dish has a clear and unobstructed view of the sky.
Things to check include:
-
No trees, buildings, or other structures blocking the dish
-
The dish is properly mounted and stable
-
The Starlink app shows strong signal quality
A clear line of sight ensures the dish can maintain consistent communication with orbiting satellites.
4.3 Connect Multiple Devices
Testing the connection with several devices helps confirm the network is functioning correctly.
Try connecting:
-
Smartphones and tablets
-
Laptops or desktop computers
-
Smart TVs or streaming devices
Testing multiple devices ensures the Wi-Fi router is distributing the connection properly across the network.
4.4 Monitor Performance in the App
The Starlink app provides tools for ongoing performance monitoring.
You can use it to:
-
Track signal strength and network stability
-
View connected devices on the network
-
Identify temporary interruptions or obstructions
Monitoring performance allows users to detect and resolve issues if they arise quickly.
Testing your Starlink connection after activation involves running speed tests, confirming satellite visibility, connecting multiple devices, and monitoring performance through the Starlink app. These steps help ensure the system is fully operational and delivering reliable satellite internet performance for everyday use.
5. Common Starlink Activation Issues and Solutions

Although the Starlink activation process is designed to be simple, some users may encounter minor issues during setup. Most problems are related to dish placement, network connectivity, or account verification, and they can usually be resolved quickly with a few adjustments.
5.1 Dish Not Connecting to Satellites
If the satellite dish cannot establish a connection with the Starlink network, the most common cause is obstruction or poor placement.
Possible solutions include:
-
Move the dish to a more open location with a clear view of the sky
-
Avoid placing it near trees, buildings, or tall structures
-
Ensure the dish is stable and correctly mounted
A clear line of sight allows the dish to communicate properly with orbiting satellites.
5.2 App Cannot Detect the Router
Sometimes the Starlink mobile app may not detect the router during setup.
To fix this:
-
Restart the router and wait for it to reboot completely
-
Reconnect your smartphone or laptop to the Starlink Wi-Fi network
-
Close and reopen the Starlink app
These steps usually allow the app to recognize the router and continue the activation process.
5.3 Activation Not Completing
If activation does not finish successfully, it may be related to account or subscription issues.
Check the following:
-
Confirm that your Starlink subscription plan is active
-
Verify payment details and billing status in your account
-
Ensure the correct service location is registered
Once the account and payment details are verified, activation can proceed as usual.
5.4 Weak Signal After Activation
If the internet connection works but the signal appears weak or unstable, the dish may be partially obstructed.
Recommended solutions:
-
Remove obstacles such as trees, walls, rooftops, or antennas
-
Place the dish in a higher or more open position
-
Use the Starlink app’s obstruction checker to find the best placement
Improving placement usually strengthens signal quality and internet speeds.
Common Starlink activation issues include satellite connection problems, router detection errors, incomplete activation, and weak signals. In most cases, these problems can be resolved by improving dish placement, restarting the router, verifying subscription details, and removing nearby obstructions. Proper positioning and a stable power supply typically ensure smooth activation and reliable satellite internet performance
6. Tips for Successful Starlink Activation in Kenya
Successfully activating Starlink requires proper installation, stable power, and correct system setup. By following a few practical steps, users can ensure the activation process runs smoothly and the internet connection performs reliably.
6.1 Choose an Open Installation Location
The location of the satellite dish plays a major role in connectivity.
For the best results:
-
Install the dish in an area with a clear and unobstructed view of the sky
-
Avoid placing it near tall trees, buildings, or structures
-
Consider rooftops or elevated mounts for better satellite visibility
A clear sky view allows the dish to maintain a stable connection with orbiting satellites.
6.2 Ensure Stable Power Supply
Reliable electricity is important for uninterrupted operation.
To maintain consistent connectivity:
-
Connect the system to a stable electrical outlet
-
Consider using a UPS (Uninterruptible Power Supply) to protect against outages
-
Use surge protectors to prevent power fluctuations from affecting the equipment
Stable power helps prevent unexpected disconnections or system restarts.
6.3 Use the App’s Obstruction Scanner
The Starlink mobile app includes an obstruction detection tool that helps identify the best installation location.
This feature allows you to:
-
Scan the sky using your smartphone camera
-
Detect trees, buildings, or other obstacles
-
Choose the optimal mounting position for the dish
Using this tool significantly improves signal strength and connection stability.
6.4 Keep Firmware Updated
Regular firmware updates help keep the system running efficiently.
Updates can:
-
Improve network performance and stability
-
Fix bugs or connectivity issues
-
Add new features and system optimizations
Keeping both the hardware firmware and mobile app updated ensures the system performs at its best.
Successful Starlink activation in Kenya depends on proper dish placement, a stable power supply, using the obstruction scanner in the Starlink app, and keeping firmware updated. Following these best practices helps ensure strong satellite connectivity, reliable speeds, and long-term internet performance after activation.
7. FAQs About Starlink Activation in Kenya
Many new users have questions about how the Starlink activation process works and what to expect after setup. Below are answers to some of the most common questions about activating Starlink in Kenya.
7.1 How long does Starlink activation take?
Starlink activation is usually quick and straightforward.
In most cases:
-
The system activates within a few minutes after powering on the equipment
-
The dish begins searching for satellites automatically
-
The network connection becomes available once the account and subscription are verified
However, the total time may vary depending on signal strength, dish placement, and network availability.
7.2 Can I activate Starlink without the mobile app?
While it may be possible to perform basic setup through a web browser, the Starlink mobile app is strongly recommended.
The app helps users:
-
Guide the installation process
-
Scan for obstructions in the sky
-
Monitor signal quality and network performance
Using the app simplifies the entire setup and ensures the system is configured correctly.
7.3 Do I need internet to activate Starlink?
You do not need an existing internet connection to activate the system.
During setup:
-
Your device connects directly to the Starlink router’s Wi-Fi network
-
The dish communicates with Starlink satellites to establish the connection
-
The system completes activation through the satellite network itself
This makes Starlink especially useful in areas without traditional broadband access.
7.4 Can I move my Starlink system after activation?
Yes, you can move your Starlink equipment after activation.
However:
-
The system may need to reconnect and realign with satellites in the new location
-
Some service plans require updating your service address in your account
-
The new location must still have a clear view of the sky
Proper placement ensures the dish maintains strong and stable connectivity.
7.5 What speeds can I expect after activation in Kenya?
Internet speeds may vary depending on location, network demand, and environmental conditions.
Typical performance ranges include:
-
Download speeds: approximately 50–250 Mbps
-
Upload speeds: around 10–30 Mbps
-
Latency: typically 20–40 milliseconds
These speeds are suitable for streaming, remote work, video conferencing, gaming, and cloud-based applications.
Starlink activation in Kenya is generally fast and simple, often taking only a few minutes once the equipment is powered on. The mobile app helps guide the setup process, and no existing internet connection is required. After activation, users can expect high-speed satellite internet suitable for both home and business connectivity.
Starlink Activation in Kenya — Getting Connected
Starlink activation is the process that links your Starlink hardware, user account, and the satellite network to begin delivering internet service. Once your Starlink Kit is installed and connected to power, the system communicates with the satellite constellation and registers your device to your account. This step ensures that your equipment is authorized and ready to access the Starlink network.
The activation process is designed to be simple and user-friendly. After powering on the kit and connecting through the Starlink App, users typically complete activation within a short time. The app guides you through account login, network configuration, and dish alignment checks, making it easy even for first-time users to bring their internet connection online quickly.
With proper installation and a clear, unobstructed view of the sky, Starlink can deliver fast and reliable internet across Kenya, including rural and remote regions where traditional broadband infrastructure is limited. Once activated, visitStarlite Internet Kenya the system automatically connects to satellites and optimizes its signal, allowing households, businesses, and remote workers to enjoy consistent connectivity almost anywhere in the country.